Play Games
 1 week ago
39
1 week ago
39
The Deadly Lovers Fortress is the final level in the base game of Sker Ritual. Like the others, this area is loaded with challenging tasks. Let me show you how to beat all of them in our Sker Ritual Deadly Lovers Fortress guide: Full walkthrough and all objectives.
Sker Ritual: Deadly Lover’s Fortress complete guide
Deadly Lover’s Fortress is battle-centric and throws some encounters at you early on that are borderline unfair. Still, you’ll prevail with a steady trigger finger. Here’s how to complete every objective in the order you’ll encounter them.
Gain access to the Castle Grounds
The first mission is a real curveball by Sker standards. Walk to the nav marker and stand in the circle on the ground to fill the progress bar. Once the bar is filled, a boss called Balor will spawn. This guy is a slog to beat so early, but you can do it with the starter pistol.
 Screenshot: PC Invasion
Keep away from Balor at all costs, as he does a surprising amount of damage up close. You can buy a Rifle off the wall, but Balor is beatable without it. Once Balor is down, head through the open door to the next area.
Enter the Inner Halls
 Screenshot: PC Invasion
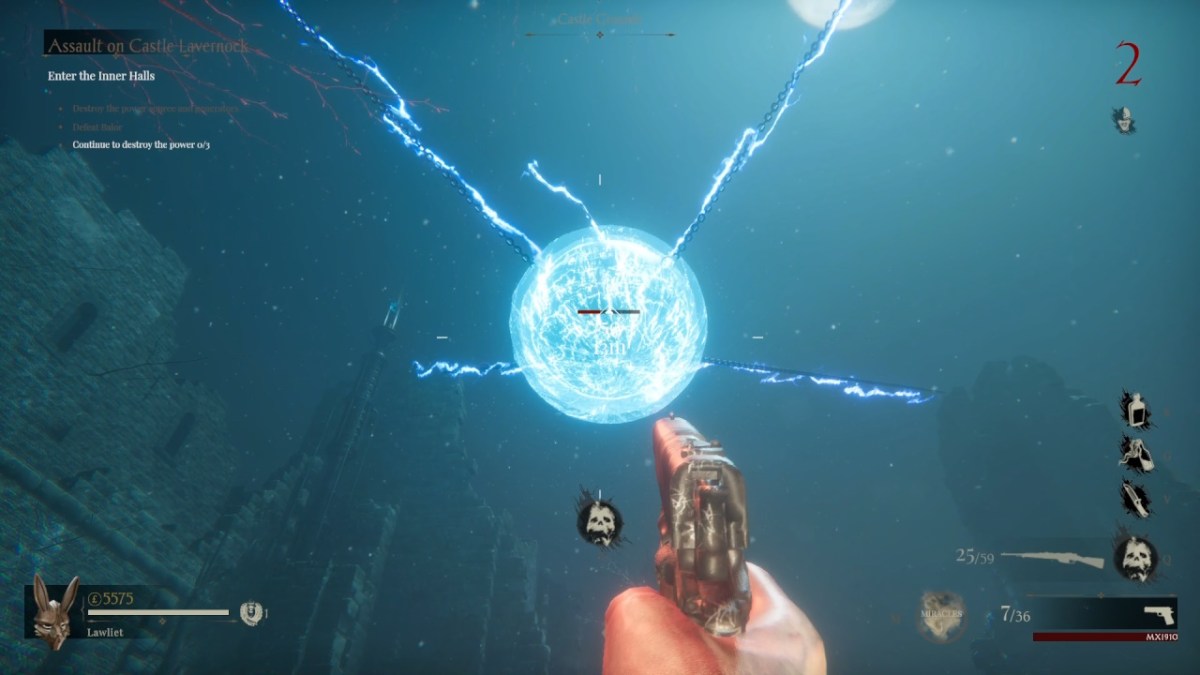
Look up in the sky above your head and destroy the giant glowing blue orb. There are several power generators around the area, and they will all be vulnerable once the Orb is destroyed. The issue is that Balor will spawn again when you break the first Generator. Defeat him as quickly as possible, as the objective is much harder to complete otherwise.
Once you’ve beaten Balor, note where he died, as it will be important later. The Orb will reappear in the sky. Destroy it, then break another Generator. Fortunately, you don’t have to deal with Balor every time, and once every Generator is destroyed, you can head into the Banqueting Hall.
Destroy the Ice Wall to the Lover’s Chamber
 Screenshot: PC Invasion
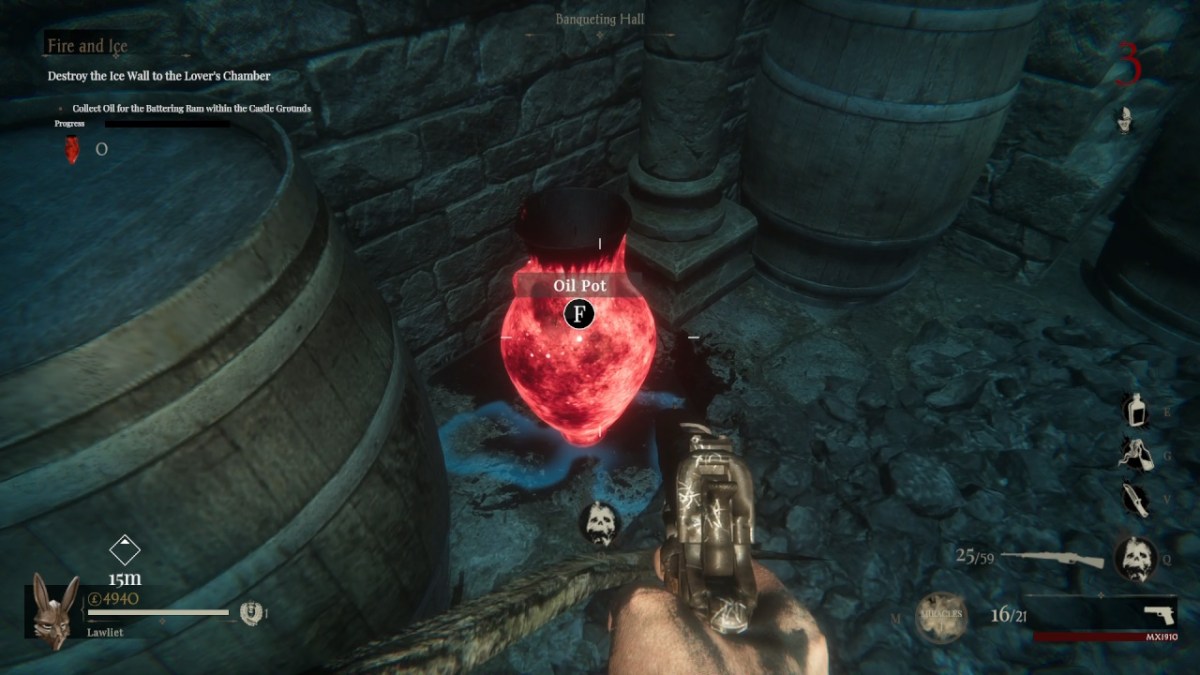
This objective is a collectathon where you must find several bright red Oil Pots scattered around the area. Each time you find an Oil Pot, you can interact with it to pick it up, then head to the Battering Ram in the area to deposit it. The spawns for these seem random, but I found one at ground level, two on the second floor, and the other behind a locked door in the East Corridor.
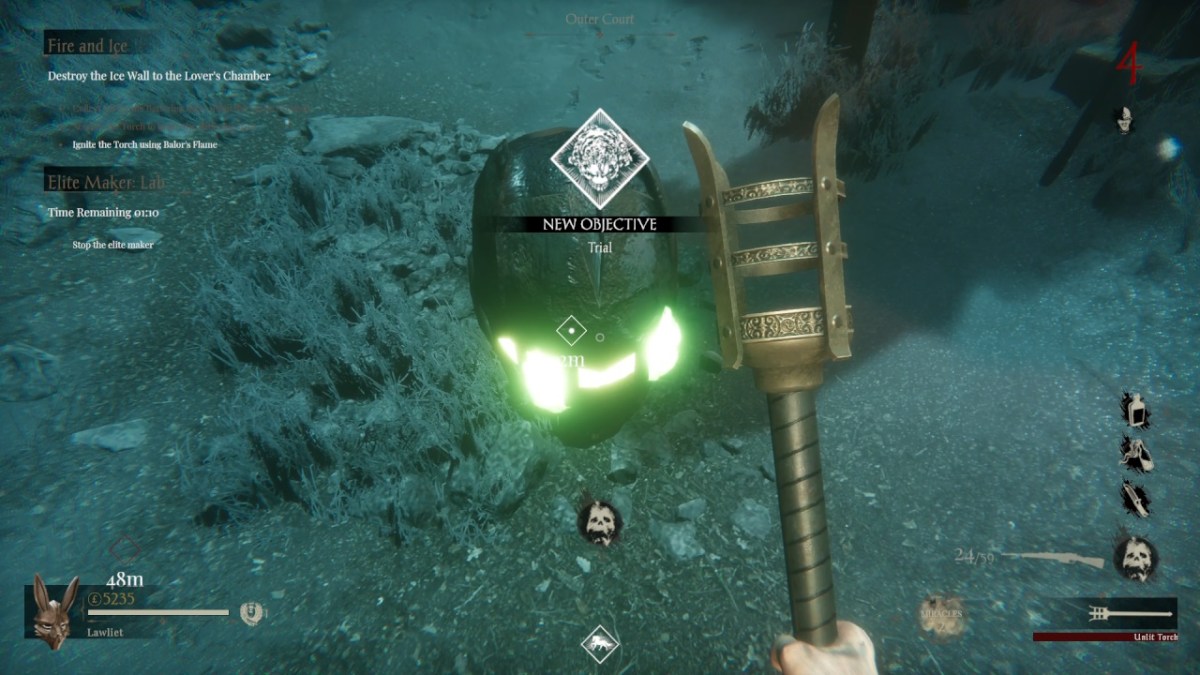
Once you’ve filled the progress meter, you’ll need to find a Torch to light the Battering Ram. You can find it on the landing right dead opposite the Ram, but you still need to light it.
 Screenshot: PC Invasion
Remember where you last defeated Balor? Return there and light the Torch using the flames from Balor’s head. Finally, interact with the switch on the wall near where you grabbed the Torch to activate the Battering Ram. The Ram will burn away a wall of ice, allowing you deeper into the fortress.
Collect the heads of all the fallen foes
 Screenshot: PC Invasion
Walk into the newly revealed passageway, and you’ll find a door with four receptacles on the front. You’ll see a list of bosses you must defeat. I’ll explain the order I defeated them in, but there may be some wiggle room with this part.
Defeat the Stranger
The hardest part about the Stranger battle is getting him to spawn in the first place. Head into the ground floor of the Banqueting Hall and activate the Teleporter. Head into the Cloning Laboratory, and you’ll be tasked with collecting DNA samples from subjects A, B, and C.
 Screenshot: PC Invasion
The machine has a basic symbol equation on it (pictured above). These instructions tell you how to decipher random codes around the area. If you see two symbols with arrows pointing at them, it means you must swap them around. If the symbol is crossed out, it means you can ignore it. Look up, and you’ll find the first code on the wall of the Cloning Laboratory. Once you’ve deciphered it, look for the matching code by one of the vats in the lab.
Find the samples
When you find the correct vat, interact with it, and you’ll have to stand by it for a few moments while a progress bar fills. Once it’s filled, return to the machine.
You can grab the code for subject B by heading into the East Corridor and up the stairs. There’s a door to open, and you’ll find the code on a chalkboard to your immediate left. Use that code to identify and activate the second vat. You can do the same thing for sample C, which is in a room next to the Cloning Laboratory on the ground floor.
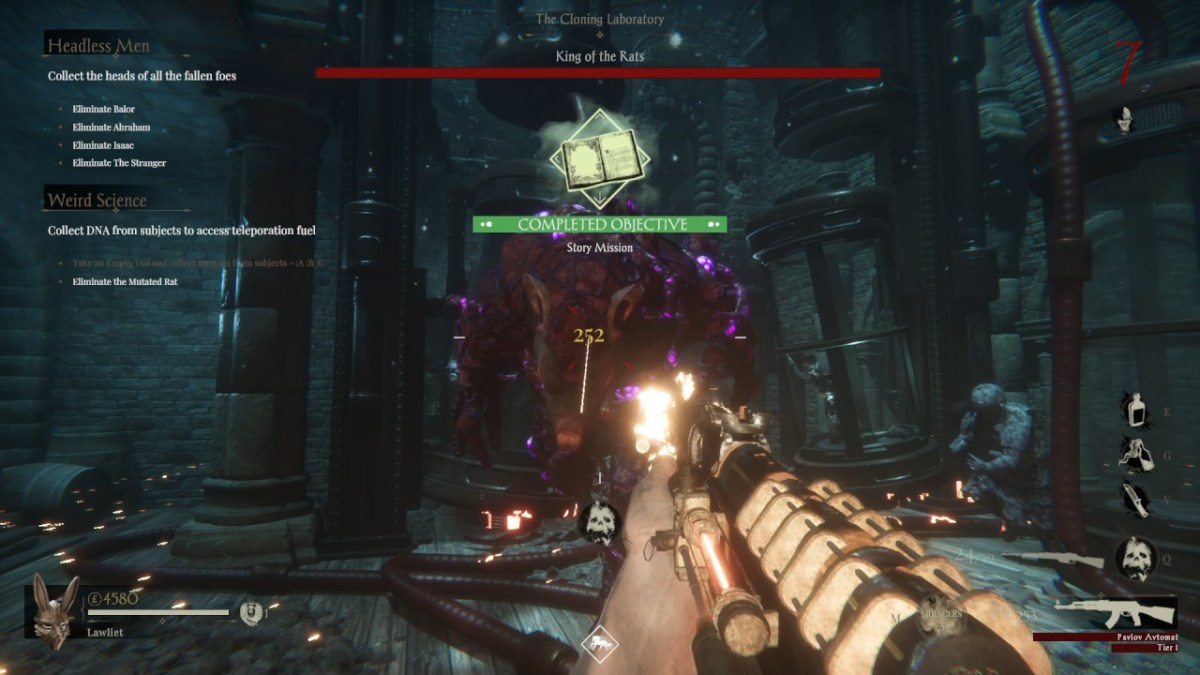 Screenshot: PC Invasion
The Stranger, aka the King of the Rats, will spawn the moment you insert the last Sample. This is another boss fight where you want to keep your distance, so it’s a good idea to run your opponent back to the Castle Grounds as it’s more open. There’s also an ammo restock machine here, which will come in handy. Once you’ve defeated the boss, return to the sample machine and take the Canister.
Eliminate Balor
If you’ve completed the Sewer level, you’ll be familiar with the objective for this section. Place the Canister in the holder on the wall by the Teleporter and head inside. You need to open the door to the Factory, which you can do by defeating enemies while standing in the circle. Head through the door and into the Dungeon Hallway.
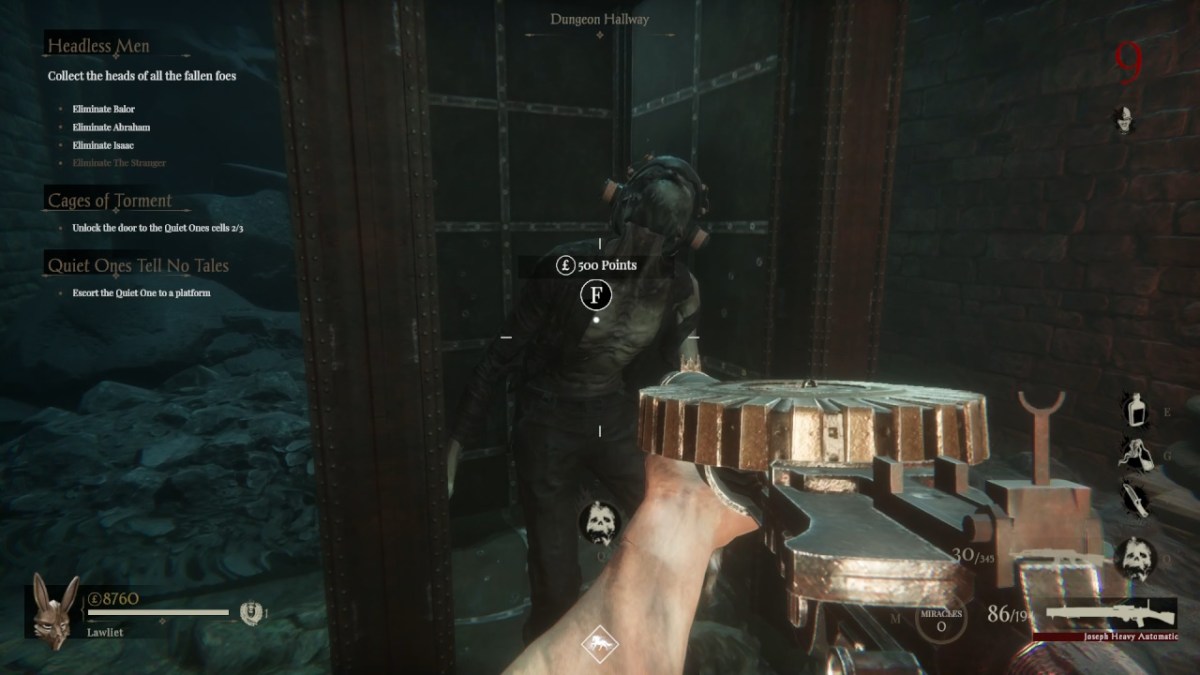 Don’t be a cheapskate. It’s worth it! – Screenshot: PC Invasion
Walk through the area until you reach a door with a Chalice to each side. Take one and head back into the Hallway. You likely spotted a few chambers on the way to the door (pictured above); interact with one, and a Quiet One will be inside. He slowly wanders to a pressure plate, but I strongly recommend paying him to go faster. Once the Quiet One reaches the pressure plate, interact with the nearby blue lever. A prison cell will open nearby, and you can fill the chalice with blood from it. Fortunately, you can follow the nav markers around this area, so you can’t get lost.
Once you’ve completed this process three times, return to the door and open it. Balor is waiting for you right behind the door, so ensure you’re prepared for a fight before depositing the Chalices.
Eliminate Abraham
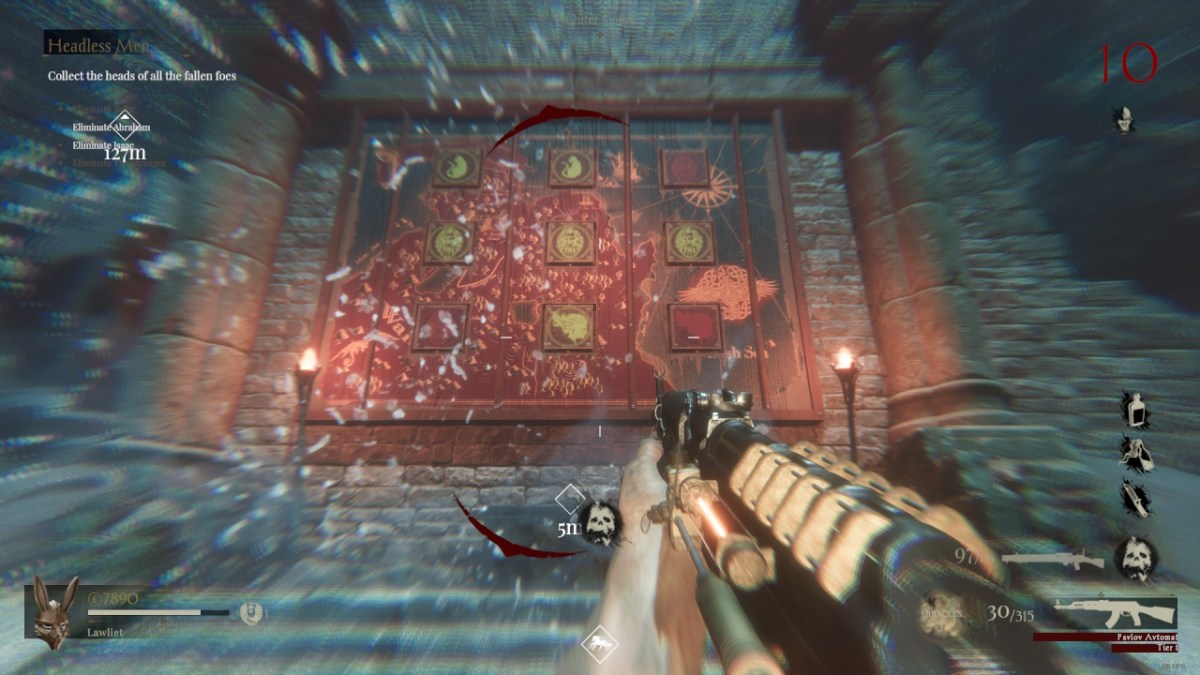 Screenshot: PC Invasion
Retrace your steps and head back through the Teleporter. You’ll almost want to walk back to the spawn area until you reach this diagram (pictured above) in the Outer Court. You’ll notice a few red symbols in the picture. You need to find buttons scattered around the area and interact with them until no red symbols are left. Honestly, I found this part pretty tricky, and the buttons are so spread out it’s impossible to explain where they all are. I found two of mine in the Outer Court area but had to go into the Castle Wall area to reach the last one.
Once every icon is lit, interact with the box, and you’ll spawn Abraham. He’s not too difficult, especially if you have a Supercharged weapon. If you don’t, the Supercharger is in the Inner Halls, where you shot the blue orb near the start of the mission.
Eliminate Isaac
We’ve saved the easiest for last. Retrieve the sword from the box where Abraham spawned and take it to the Banqueting Hall. Go upstairs into the North Corridor and use it to open the previously locked door. Interact with the machine in the middle of the room, and you’ll be tasked with interacting with several valves across the map. Fortunately, these are all clearly marked with a white diamond.
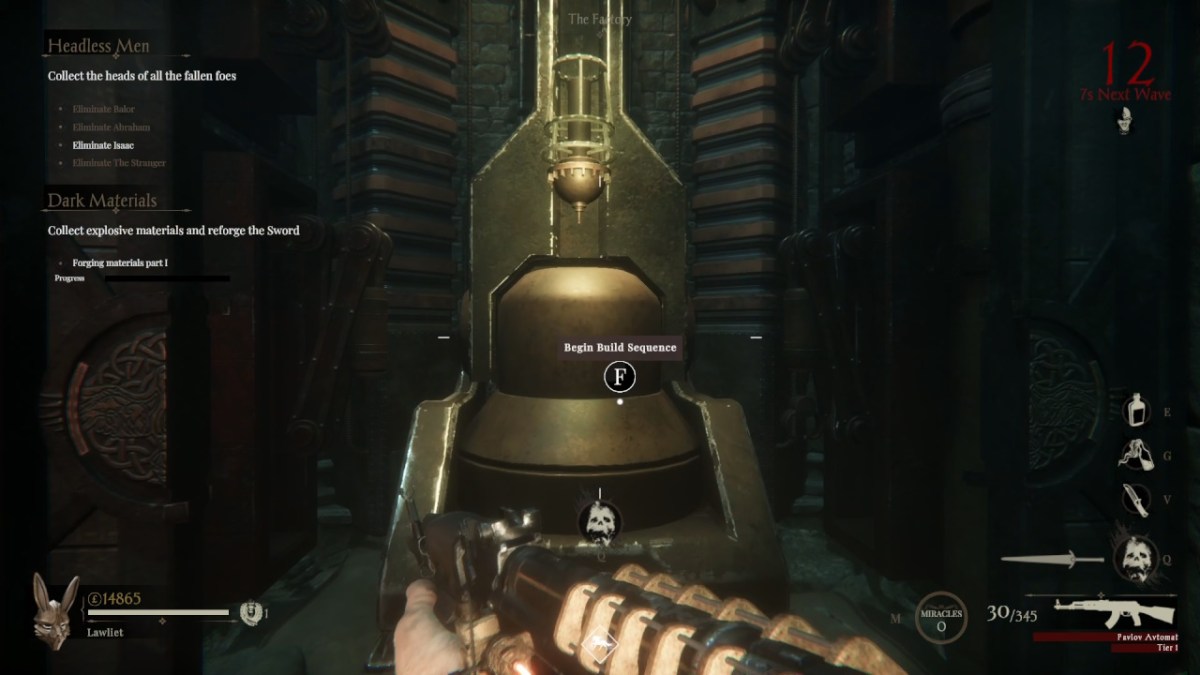 Screenshot: PC Invasion
Once you’ve triggered each valve, head back to the Factory via the Teleporter and approach the open doorway. You must wait nearby to forge explosive materials, and three doors in the area require the same treatment.
I kept a couple of Zombies alive for this part, which made everything much more manageable. Once you’ve completed each objective, Isaac will spawn. This boss is nasty, as he’s deceptively quick and can spawn lightning bolts. Still, keep your distance and watch for the patches of electricity, and you’ll be fine.
Reforge the Sword
With all bosses defeated, head back to the room you unlocked with the Sword and interact with the machine inside. You’ll have to do this several times until you’re prompted to find Metal Shards. These infrequently drop from enemies, so keep killing zombies until you have the required amount.
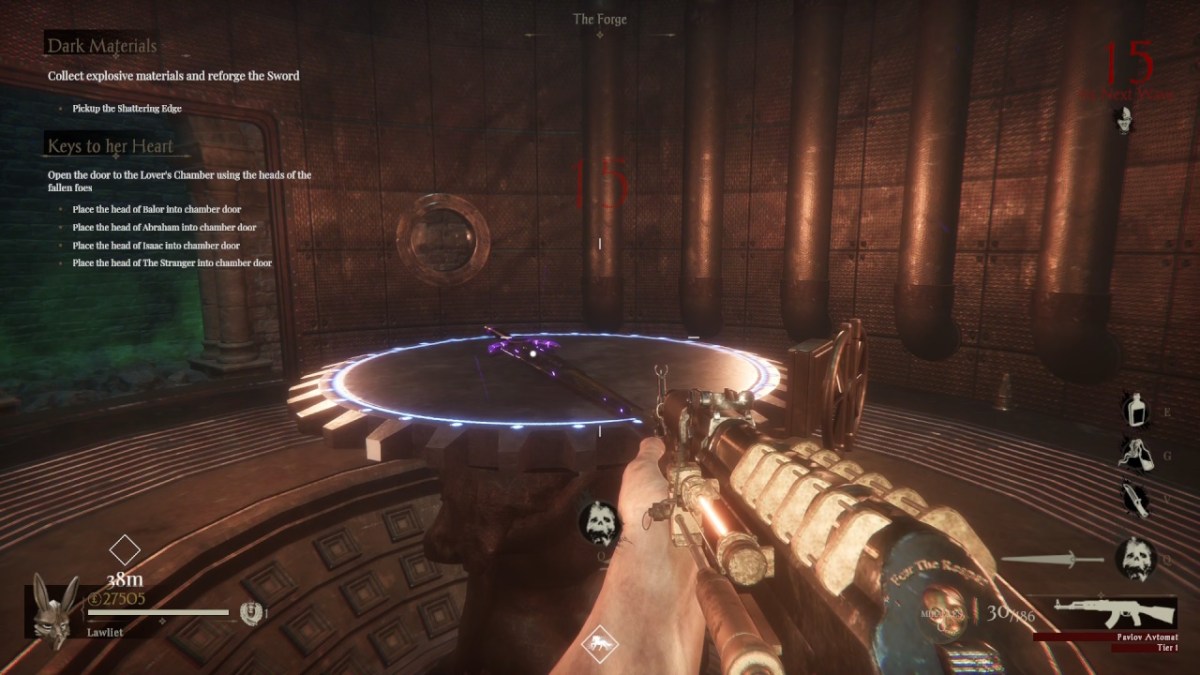 Screenshot: PC Invasion
Return to the Sword and then to the door you revealed with the Battering ram. You’ll find the final boss inside.
Defeat Elisabeth
Elisabeth is arguably the toughest boss in Sker Ritual, but it’s the environment that makes the encounter so challenging. The boss will float in the middle of the arena for the entire fight. Parts of the walkway will glow blue before they are charged with electricity. You have plenty of time to evade, but it’s hard to do with all the mobs that spawn.
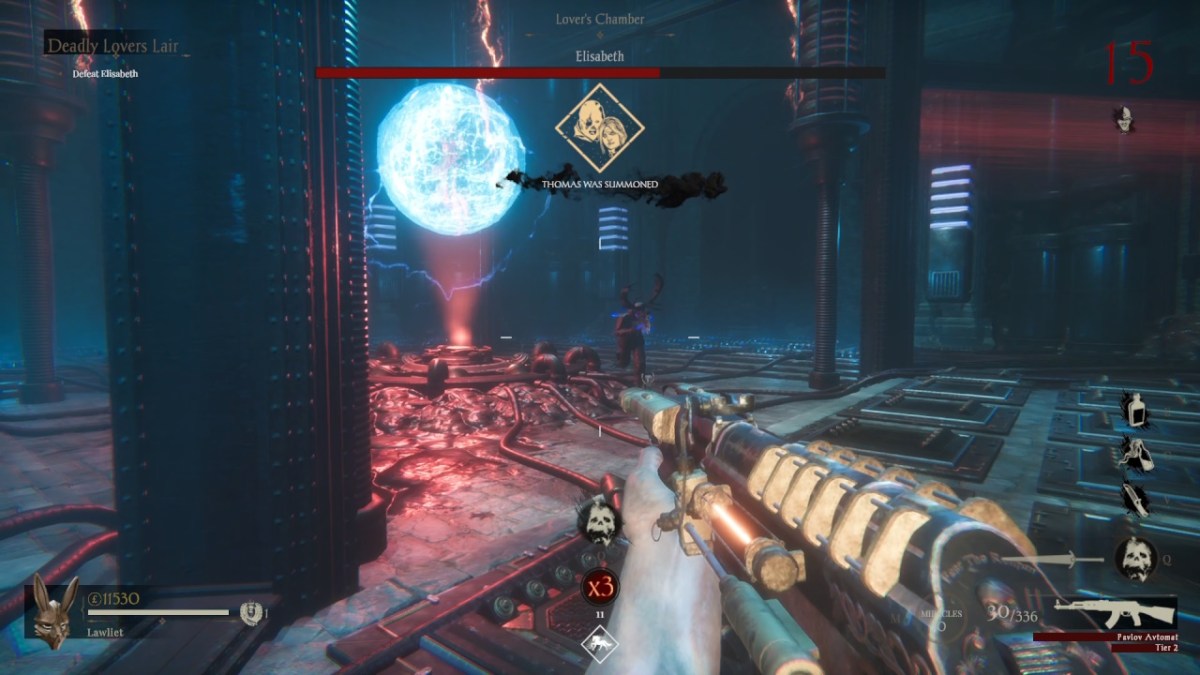 Screenshot: PC Invasion
Prioritize locating a safe space to stand, deal with the enemies, and then throw everything you have at Elisabeth. Take your time, as you’ll be punished for rushing. When you defeat Elizabeth, you can choose to carry on or leave the level.
If you choose to leave, you’re treated to an ending cutscene where the story of Sker Ritual ends for now.
Every level in Sker has its own mechanics and puzzles. The Ashes of Sker Hotel is arguably the most convoluted, but they are all rewarding and worth finishing.
PC Invasion is supported by our audience. When you purchase through links on our site, we may earn a small affiliate commission. Learn more