Play Games
 1 month ago
75
1 month ago
75
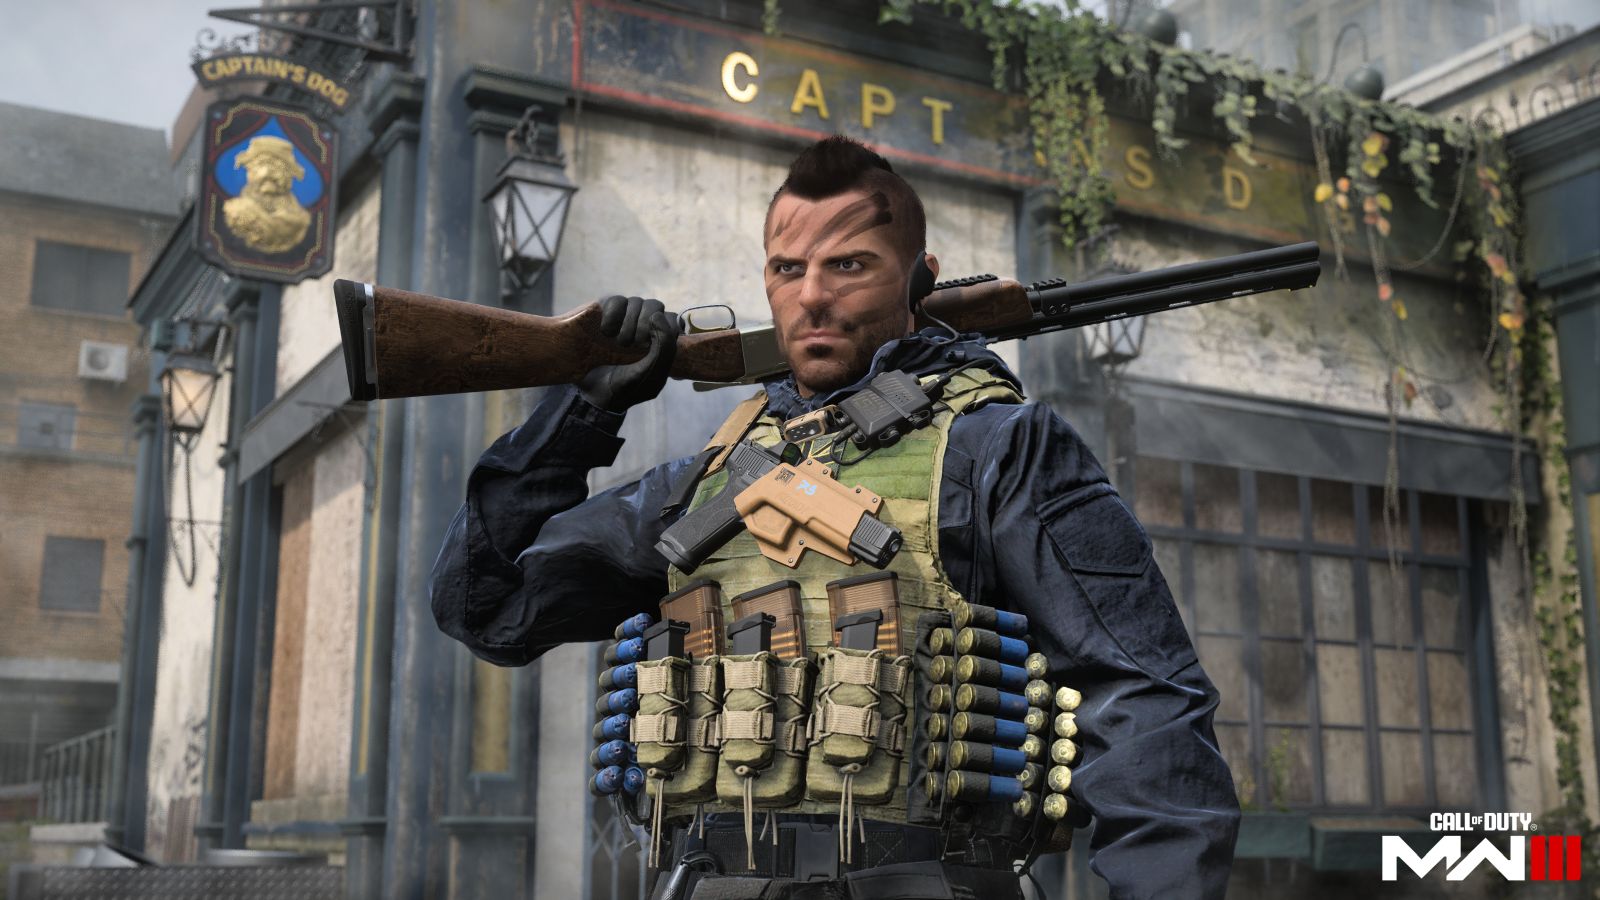
Das Haus returns in a new form as the battle moves from the training facility first featured in Call of Duty®: Vanguard to the top of a skyscraper in Call of Duty®: Modern Warfare® III. Positioned just southwest of the building hosting the Highrise Multiplayer map — look for it off the Orange Balcony in the north — Das Haus retains its original layout in a whole new setting.
The small 6v6 map pits the Orange Side against the Blue Side in a nearly symmetrical layout split into three primary lanes. Battle down the Main Hallway in the center or flank down the sides; whichever your chosen route, expect danger at every turn.
In team-based modes, squads will either spawn on the Orange Side (north) or the Blue Side (south).
The Main Hallway separates the two sides and is parallel to the Central Pillars and the Workshop, Operations, and Training Room. Time to engagement is minimal, so be ready.
We’ve divided Das Haus into four sections based on key areas around the map:
– MAIN SPAWN POINT: Orange Side (+ Orange Balcony, Orange Scaffold, Orange Room, Hideout)
– MAIN SPAWN POINT: Blue Side (+ Blue Scaffold, Blue Room, Storeroom)
– ADDITIONAL AREA: Main Hallway (+ Central Pillars)
– ADDITIONAL AREA: Operations (+ Workshop, Training Room)
MAIN SPAWN POINT: ORANGE SIDE (NORTH)
On the north half of the map, Orange Side Operators will battle around barrels, containers, and thick concrete pillars. The central pillar with the rebar poking out of its top provides the most substantial cover when fighting within the area; for a sneakier approach, attack from the outer Orange Scaffold or Balcony.
Commit the four south-facing doorways to memory; these lead out to the greater map and therefore feature the greatest risks and opportunities when positioned on this side. For shots across the map, look down the middle and through Operations. The other two paths offer more angled sightlines for those who prefer closer fighting.
MAIN SPAWN POINT: BLUE SIDE (SOUTH)
Though not an exact copy, the Blue Side is functionally similar to the Orange Side. The main space is open and flat with a large cover object in the middle. Longer-ranged weapons tend to perform best here due to the area’s extended sightlines of the Main Hallway and through Operations.
The western side is composed of two smaller areas that split off into the Blue Room and Storeroom, leading toward the center of the map. Shotguns and SMGs shine on this segmented side; use the branching rooms to keep the enemy close.
ADDITIONAL AREA: MAIN HALLWAY
Expect fierce fighting down the Main Hallway throughout the match. Its central location and end-to-end view make it the most crucial pathway on the map. When fighting from within your spawn, mount your weapon on the side wall for added accuracy downrange. Forward cover objects are located on both ends, allowing you to move up once you’ve gained some control of the space.
The biggest risk when battling down the Main Hallway is getting flanked from either of the side paths, each peppered with doorways down the middle. Watch your radar for the position of your teammates and revealed enemies to help determine incoming threats. It’s a small map, so you can always reposition in a flash.
Watch the Central Pillars to the side of the Main Hallway; this is an open space featuring several cover objects that provide angled views down the middle. Operators here can be hard to detect when stationed at the far ends of the Hallway. Use this to your advantage to flank enemies in the center of the map or to get across without the danger of getting sniped. Beware of the stacked drywall, which can block your view of enemies coming from the other side.
ADDITIONAL AREA: OPERATIONS
The Operations Room, Workshop, and Training Room run down the east side of the map. Like the Main Hallway, there’s a clear sightline through the three rooms from the Orange Side to the Blue Side. If needed, each room offers enough space to avoid the line of sight.
Except for some equipment in the Operations Room, there’s little in the way of cover down this path, enhancing the deadliness of ambushes and incoming grenades. Each room also features a doorway to the Main Hallway, so watch for movement along the sides.
1. Turn up the heat. On tiny maps like this, it’s best to adopt an aggressive posture. Hanging back not only invites an enemy flank but also reduces your chances of getting a high elimination count. Instead, take the initiative and force the enemy to react to your plays.
2. Zigzag. While much of the fighting here breaks out between the Orange and Blue Sides, you can do some good work by zigzagging across the map as well. Time your sprints across the Main Hallway and flank enemies who are too focused on moving toward the opposite spawn.
3. Watch your head. There’s a clear sightline across the map when looking down the Main Hallway or through Operations. Be aware of snipers and other long-ranged Operators using these paths for longshots. Counter-snipe them with your own long-ranged weapon or take a different route to flank and flush them out.
4. Blue Scaffold blast. Enemy firing from the Blue Scaffold in the southeast corner of the map? Toss a grenade into the small area; it’s enclosed on all sides, focusing the blast for a near certain hit. It’s a more difficult trick on the Orange Side where the Scaffold features minimal barriers.
5. Hideout pivot. Blink and you’ll miss the Hideout area that connects the Main Hallway and Central Pillars on the Orange Side. The quick pivot it provides is great for flanking enemies and staging ambushes. Use it to approach the Main Hallway without exposing yourself to the center line of sight.
6. Read the room. If everyone’s crowding into the Main Hallway for longshots, opt for a side route. If everyone’s blasting away with Shotguns, grab a Rifle and eliminate them from far out. By adjusting your tactics to counter the main play, you’ll stay two steps ahead of the enemy.
7. Start a riot. Playing with a friend? Equip the Riot Shield on one of your Operators to act as a mobile cover point for the other. This move requires coordination but can be absolutely devasting when moving toward the objective and other highly defended areas.
8. Haus with no roof. Keep in mind that Das Haus takes place on the top of a skyscraper, meaning there’s little overhead cover to protect against aerial attacks. Covered areas like the Workshop, Training Room, and Hideout offer some respite but can get crowded fast. Hug the walls to avoid incoming blasts or take out your Launcher to dispose of the threat entirely.
9. Get a grip. Use the Quick-Grip Gloves to increase your weapon-swap speed, especially when using a Primary Weapon like a Shotgun or Sniper Rifle. Rapidly switch to your backup weapon in cases where your Primary struggles and land the elimination before swapping back to your main gun.
10. Chain reaction. Equip the Data Jacker in your Gear slot so that enemies you eliminate drop a smartphone that generates a radar ping on pickup. With the frequency of engagements you’ll encounter, it’s possible to start a chain reaction of eliminate, ping, eliminate, ping. Keep it running and then devastate the enemy with your earned streaks.